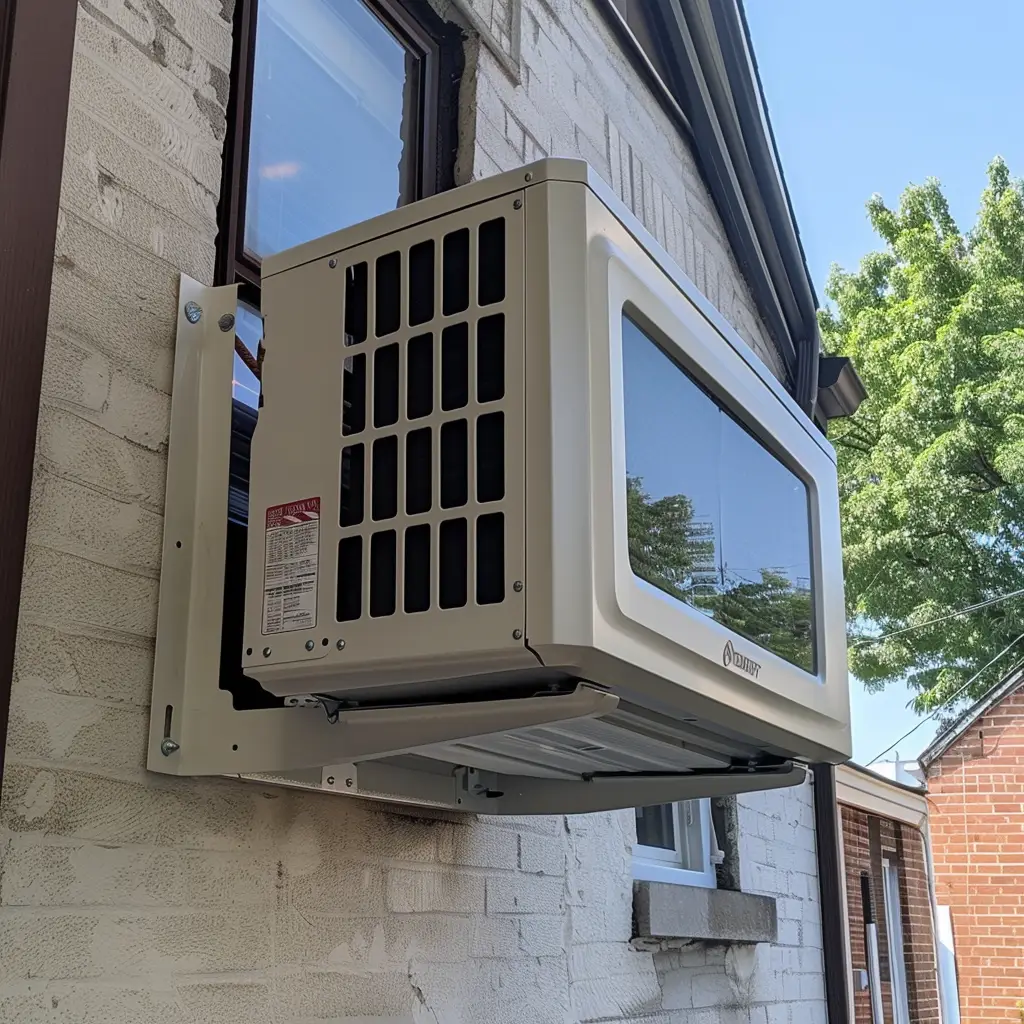
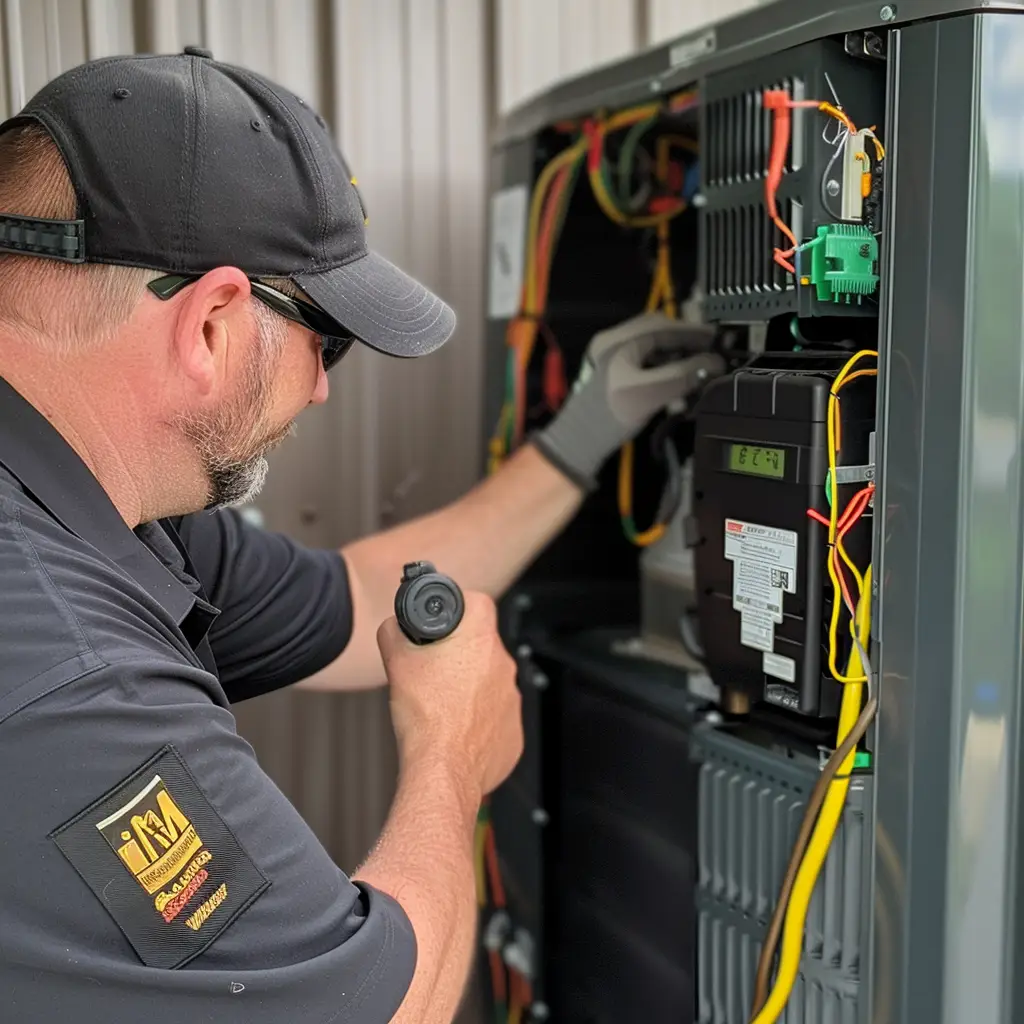
Installing a window air conditioner is a cost-effective and efficient way to cool specific areas of your home. Whether you’re looking to escape the summer heat or need a little extra cooling without the expense of central air, setting up a window unit can be a straightforward DIY project that offers year-round benefits, including heating options during cooler months. For those looking to optimize their energy usage, our blog on improving air conditioner efficiency this summer provides excellent tips.
Tools and Materials Needed
To get started, you’ll need:
- Measuring tape
- Screwdriver (Phillips and flathead)
- Level
- Drill with various bits
- Support brackets (optional but recommended)
- Foam insulation strips
- Weather stripping
- Screws and hardware (usually provided with the unit) For a comprehensive guide on selecting the right tools and materials, check out our detailed maintenance tips.
Window and AC Unit Preparation
Ensure the window frame is sturdy and undamaged, as it will need to support the weight of the air conditioner. Check for any signs of rot or damage and repair as needed. Decide whether to use a support bracket, which can significantly reduce stress on your window frame and help prevent damage. Learn more about the benefits of proper air conditioner maintenance.
Step-by-Step Installation
- Open the Lower Window Sash: This provides space to insert the air conditioner.
- Install Support Brackets: If using, attach the bracket according to the manufacturer’s instructions. Some brackets may not require tools and can be easily removed for storage in the off-season.
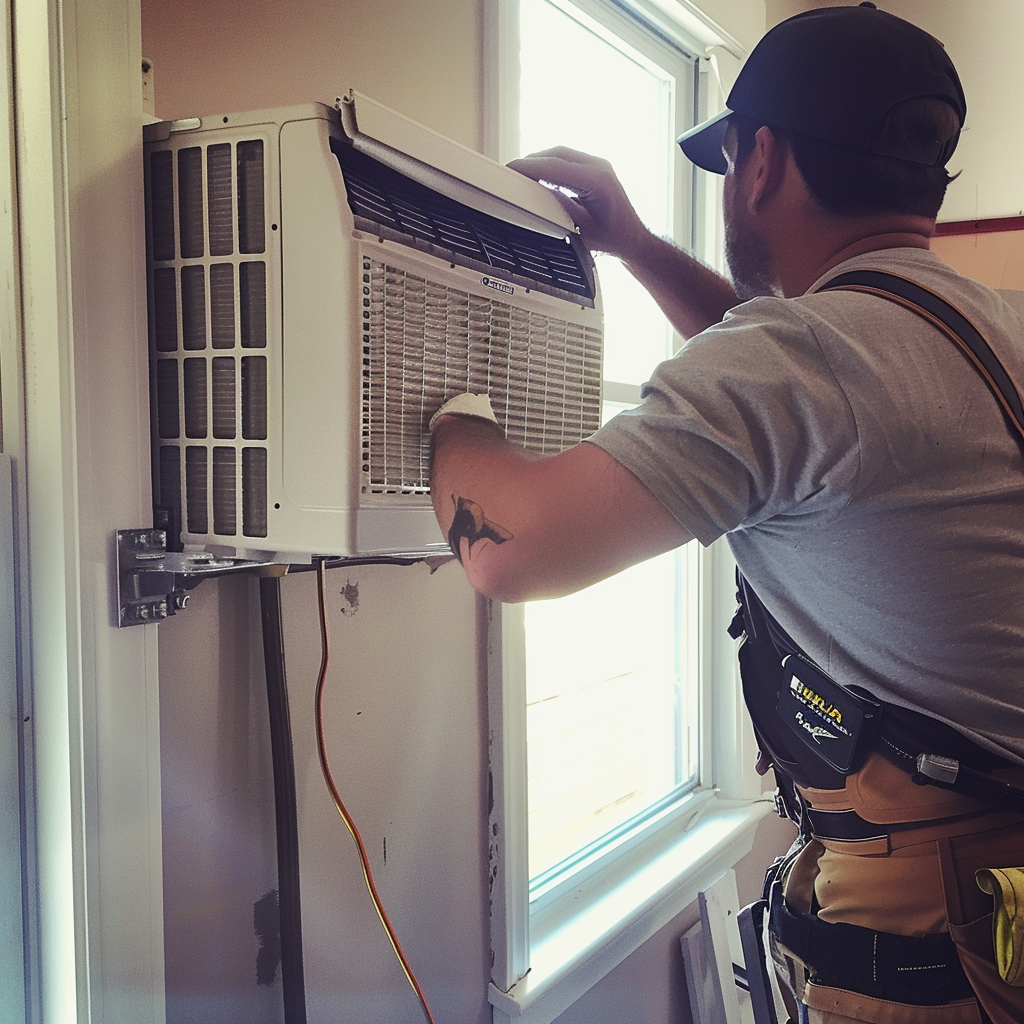
- Place and Secure the Air Conditioner: With help from another person, lift and place the unit on the bracket or window sill, centering it in the opening. Lower the window sash behind the top flange of the air conditioner to secure it in place.
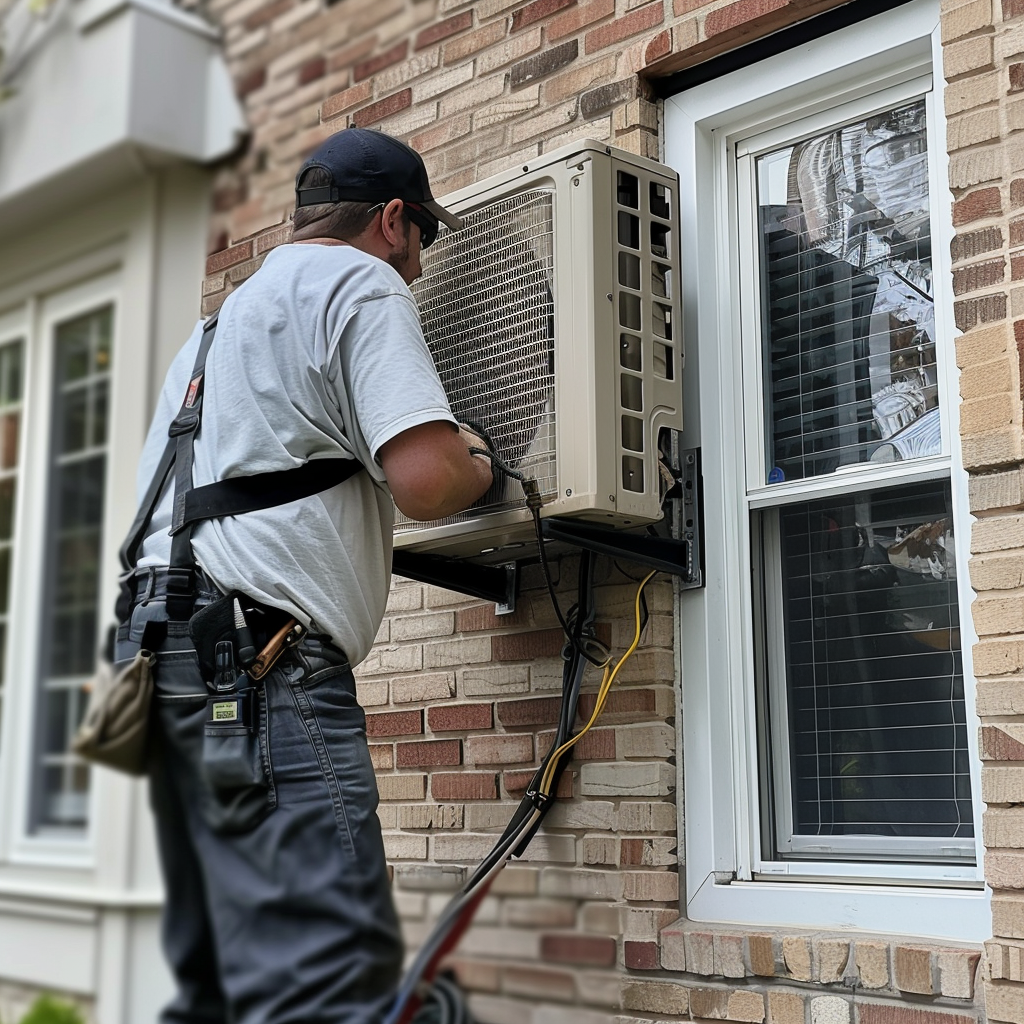
Installing Support Brackets
Support brackets are essential for larger units. They transfer weight from the window sash to the more stable wall structure below, reducing the risk of window damage.
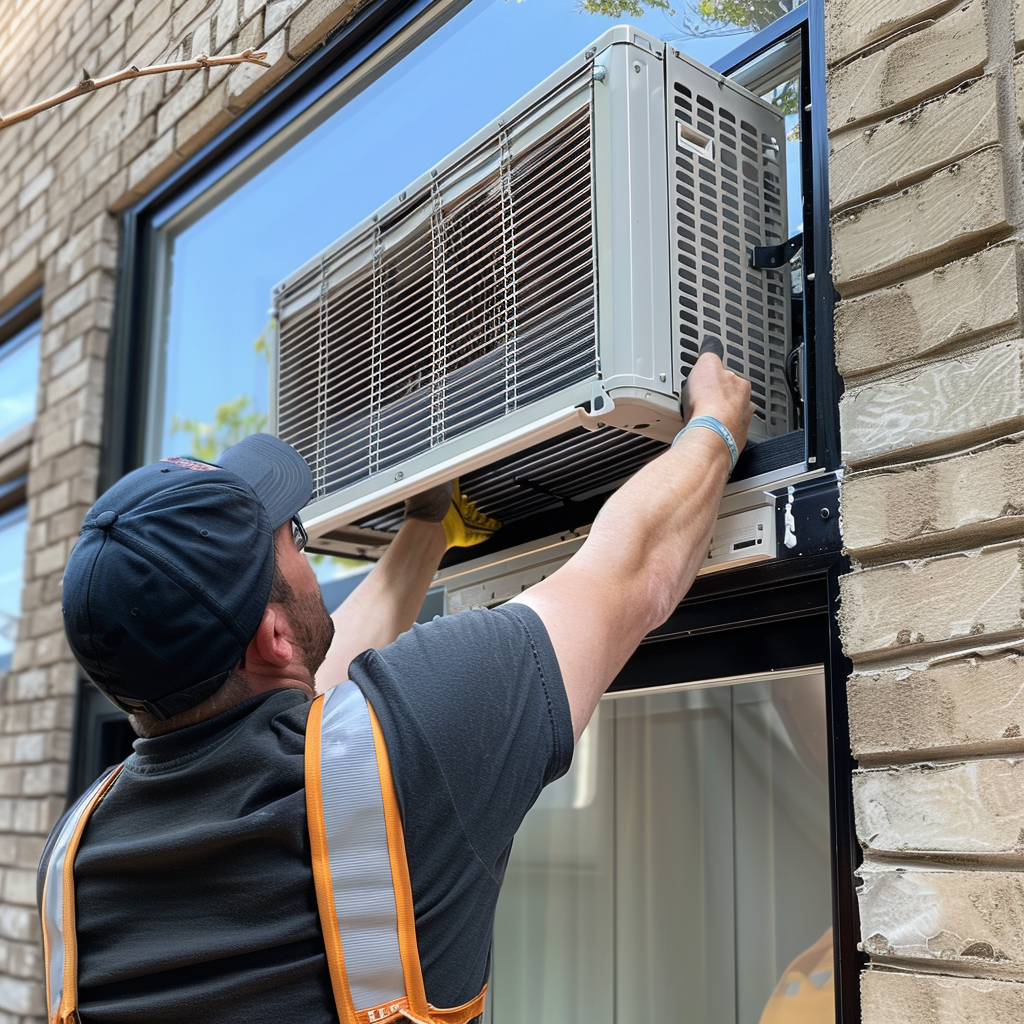
Securing the Air Conditioner
Use screws to attach the unit’s side flanges to the window’s sash and stool, ensuring it’s secure and stable. Add an L-shaped bracket to the upper sash to prevent it from being opened from the outside. For more detailed steps and visuals, visit our article on how to install new air conditioners.
Fastening Side Panels
Extend the accordion panels to fill the gap between the air conditioner and window frame, securing them with screws. Use foam insulation strips between the upper and lower window sashes to improve energy efficiency and prevent bugs from entering.
Portable AC Installation Basics
For those preferring a less permanent option, a portable air conditioner can be vented through a window using a vent panel and exhaust hose. Secure the panel and lower the window sash onto it to stabilize.
Post-Installation Tips
Remove any objects inside or outside that might block airflow to and from the unit. Regularly cleaning the filter will optimize the air conditioner’s performance. Explore our guide on seasonal HVAC maintenance to ensure your unit runs efficiently throughout the year.
Safety Tips
Always work with a partner when lifting the air conditioner into place to avoid injury. Ensure the unit is plugged into a grounded outlet and avoid using extension cords.
Maintenance Tips
Check and clean the exterior of the unit and the coils at the beginning of the cooling season to ensure efficient operation.
Troubleshooting Common Issues
If the unit isn’t cooling properly, ensure it’s level, the filters are clean, and that no vents are blocked.
Trust AirPoint for Your Air Conditioning Installation Needs
In conclusion, while installing a window air conditioner can be a manageable DIY project, having the backing of a professional service can significantly enhance your experience and ensure optimal performance. At AirPoint, we pride ourselves on being a Carrier factory authorized dealer and NATE certified in Toronto, reflecting our commitment to delivering the highest standards of service. Our accolades, including the HomeStars Best of the Best 2023 award, and consistent 5-star ratings on Google and HomeStars, further testify to our expertise and customer satisfaction. All of our technicians are fully certified by TSSA, HRAI, and CSA, ensuring that your air conditioning installation is in the most capable hands. Trust us to not only meet but exceed your cooling needs, providing comfort and efficiency with every job we undertake.
To learn more about how to install a window AC, watch this video by HowToWith GEO
FAQs about Installing a Window Air Conditioner
What tools do I need to install a window air conditioner?
You will need a measuring tape, screwdriver, level, drill, and potentially support brackets depending on the unit. It’s important to ensure you have all the necessary tools before beginning the installation process.
How do I know if my window frame can support an air conditioner?
Check the window frame for any signs of damage or rot. The frame should be sturdy without any visible defects. If unsure, it's advisable to consult with a professional like AirPoint to assess the suitability of your window frame.
Can I install a window air conditioner by myself?
While it's possible to install smaller units by yourself, it's generally recommended to have at least one other person help you to safely lift and secure the air conditioner, especially for larger units.
What are the safety precautions I should take when installing a window air conditioner?
Always ensure the AC unit is securely fastened to avoid it falling. Use a properly grounded outlet and avoid overloading the circuit. Consider professional installation for optimal safety and performance.
How often should I perform maintenance on my window air conditioner?
Regular maintenance includes cleaning or replacing the air filter monthly during usage periods and checking the system at the start of the warm season to ensure optimal performance. Annual professional checks by certified services like AirPoint are recommended.


