
DIY furnace maintenance is a simple and cost-effective way to save a repair bill and keep your furnace running efficiently. By performing regular maintenance tasks, you can help extend the lifespan of your furnace and prevent breakdowns that require a furnace repair. Regular furnace maintenance can also help you save money on energy costs by ensuring that your furnace is operating at its maximum efficiency.
Whether you’re a homeowner or a landlord, taking the time to perform routine maintenance on your furnace is a smart investment that can pay off in the long run.
Here is a step-by-step furnace maintenance guide that you can follow to keep your furnace in good working order:
1. Change The Furnace Filter
Change the furnace filter at least once every other month to prevent dirt and debris build up in your furnace. A dirty furnace filter can restrict airflow and cause your furnace to work harder, leading to a breakdown. To change the air filter, locate the filter compartment (usually located behind the furnace or in the return air duct) and remove the old filter. Then, replace it with a new filter of the same size and type.
2. Remove And Clean The Furnace Blower
The furnace blower is responsible for circulating warm air throughout your home. If it becomes dirty or clogged with debris, it can cause your furnace to run less efficiently. Here are the steps you should take to remove and clean the blower from a furnace:
- Turn off the power to the furnace: Before removing the blower, it’s important to turn off the power to the furnace to avoid any accidents. Locate the switch or circuit breaker that controls the power to the furnace and turn it off.
- Remove the access panel: The blower is usually located inside the furnace, behind an access panel. Remove the access panel to expose the blower.
- Disconnect the blower: The blower is typically connected to the furnace with bolts or screws. Use a screwdriver or wrench to loosen and remove these connections.
- Remove the blower: Once the blower is disconnected, carefully lift it out of the furnace. Be careful not to damage the blower or any other components of the furnace.
- Inspect the blower: Look for any signs of damage or wear on the blower and replace it if necessary. If the blower needs to be replaced, follow the manufacturer’s instructions or a service manual to properly install the new blower. Make sure to securely fasten the blower to the furnace and reconnect any electrical connections.
- Clean the blower: Use a soft brush or cloth to gently clean the blower blades and housing, being careful not to bend or damage them. You can also use a vacuum to remove any dirt or debris from the blower.
- Replace the access panel: Once the blower has been removed or replaced, replace the access panel and turn the power to the furnace back on
It’s important to note that improperly removing the blower can pose a serious safety risk and may damage the furnace.
3. Check The Furnace Flue
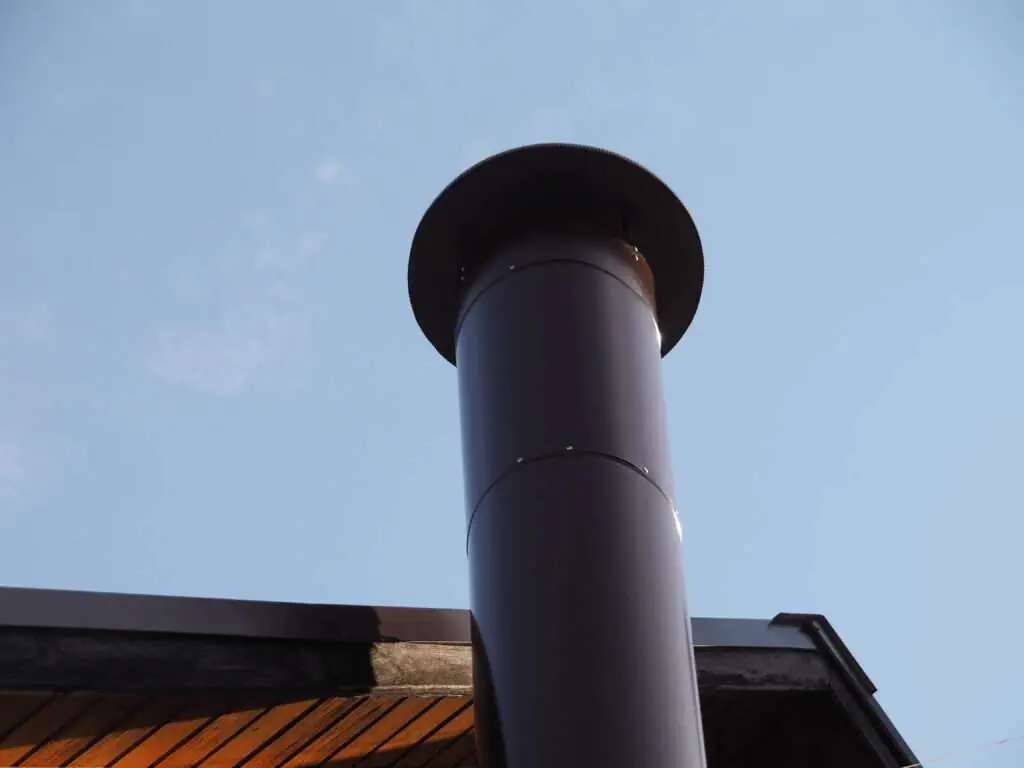
The flue is a pipe that vents gases produced by the furnace out of your home. It’s important to make sure the flue is clear and unobstructed to ensure that the furnace is operating safely.
- Locate the flue: The flue is a pipe or duct that carries combustion gases and vapors from the furnace to the outside of the home. It is usually located on the roof or exterior wall of the home.
- Inspect the flue for visible damage: Look for any visible damage, such as holes, cracks, or rust, that may indicate a problem with the flue.
- Check for blockages: Look for any blockages, such as leaves, debris, or nests, that may be preventing the flue from functioning properly.
- Check the flue cap: The flue cap is a protective cover that sits at the top of the flue and helps to prevent debris and animals from entering the flue. Make sure the flue cap is securely in place and not damaged.
- Inspect the inside of the flue: If it is safe to do so, you can also inspect the inside of the flue by removing the access panel or cover on the furnace. Look for any signs of damage or obstruction inside the flue.
4. Inspect The Furnace Burners
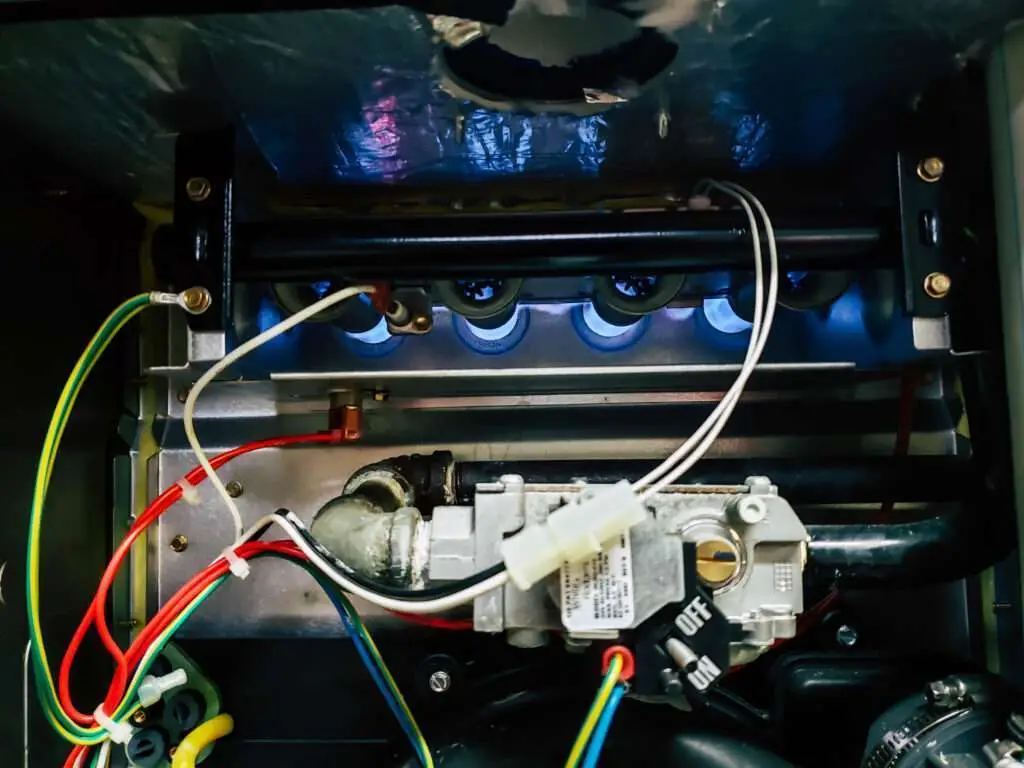
Inspecting the burner flames in your furnace is an important part of maintaining the safety and efficiency of your furnace. Here are some steps you can follow to inspect the burner flames:
- Turn off the power to the furnace: Before inspecting the burner flames, it’s important to turn off the power to the furnace to avoid any accidents. Locate the switch or circuit breaker that controls the power to the furnace and turn it off.
- Remove the access panel: The burner flames are usually located inside the furnace, behind an access panel. Remove the access panel to expose the burners.
- Inspect the burner flames: The burner flames should be blue in color and evenly distributed across the burners. If the flames are yellow or flickering, it could be a sign of a problem.
- Check for any visible problems: Look for any visible signs of damage or wear on the burners or other components of the furnace.
- Replace the access panel: Once you’ve finished inspecting the burner flames, replace the access panel and turn the power to the furnace back on.
If you notice any problems with the burner flames or suspect that there may be an issue with your furnace, it’s best to contact a professional furnace repair service.
5. Check The Thermostat
The thermostat is responsible for controlling the temperature in your home. If it’s not working properly, it can cause your furnace to run unnecessarily or not run at all. Here’s how check the thermostat for a furnace
- Check the batteries in the thermostat. The thermostat may be powered by batteries or it may be hardwired into the electrical system of the home. If the thermostat uses batteries, you will need to check that they are fresh and have a good charge.
- Set the thermostat to a temperature that is higher than the current room temperature. This will tell the thermostat to turn on the furnace.
- Wait a few minutes to see if the furnace responds to the thermostat’s signal. If the furnace doesn’t turn on, there may be an issue with the thermostat or the furnace itself.
- Check the thermostat’s settings to ensure that it is set to “Heat” and that the desired temperature is set correctly.
- Check the furnace to ensure that it is receiving power. This can be done by checking the electrical panel or by looking for a light or other indicator on the furnace itself.
6. Clean The Flame Sensor
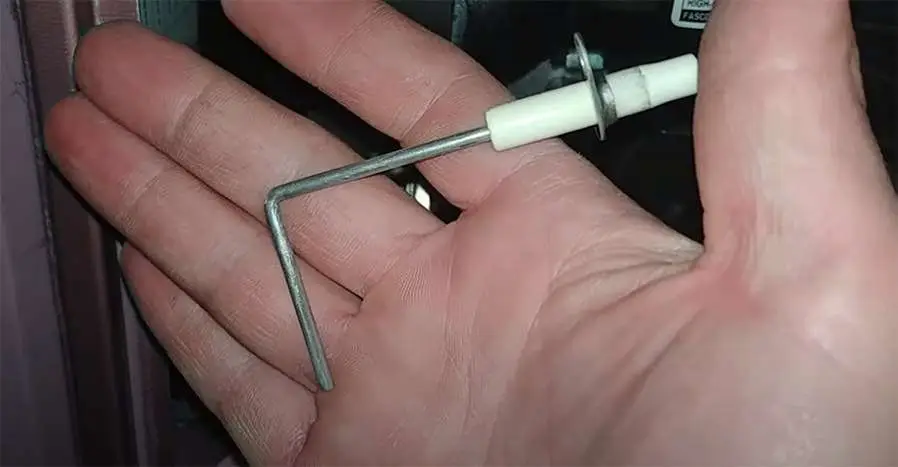
To clean the flame sensor on a furnace, you will need to follow these steps:
- Turn off the power to the furnace: Before cleaning the flame sensor, it’s important to turn off the power to the furnace to avoid any accidents. Locate the switch or circuit breaker that controls the power to the furnace and turn it off.
- Locate the flame sensor: The flame sensor is usually located near the burners in the furnace, attached to the control panel or mounted on the side of the combustion chamber.
- Clean the flame sensor: Use a soft brush or cloth to gently clean the flame sensor, being careful not to bend or damage it. You can also use a vacuum to remove any dirt or debris from the sensor.
- Reassemble the furnace: Once you’ve finished cleaning the flame sensor, replace any panels or covers that you removed and turn the power to the furnace back on.
7. Seal Leaky Air Ducts
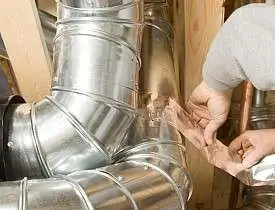
Leaky air ducts can cause a variety of problems, including decreased energy efficiency, uneven heating and cooling, and increased energy costs. To seal leaky furnace air ducts, you can follow these steps:
- Locate the leaky ducts: Look for any visible signs of leaks, such as loose or disconnected sections of ductwork, or areas where the ducts appear to be damaged or separated. You may also be able to hear or feel a leak by placing your hand near the ducts or listening for a hissing sound.
- Repair or replace damaged ducts: If you find any damaged or disconnected sections of ductwork, you will need to repair or replace them. This may involve using duct tape or metal tape to seal the leaks, or installing new sections of ductwork.
- Insulate the ducts: Insulating the ducts can help to prevent leaks and improve the overall efficiency of your heating and cooling system. You can use a duct wrap insulation or wrap the ducts with insulation tape to help seal any gaps or leaks.
- Check for leaks again: Once you have repaired or replaced any damaged ducts and insulated the ducts, it is important to check for leaks again to ensure that all of the leaks have been sealed.
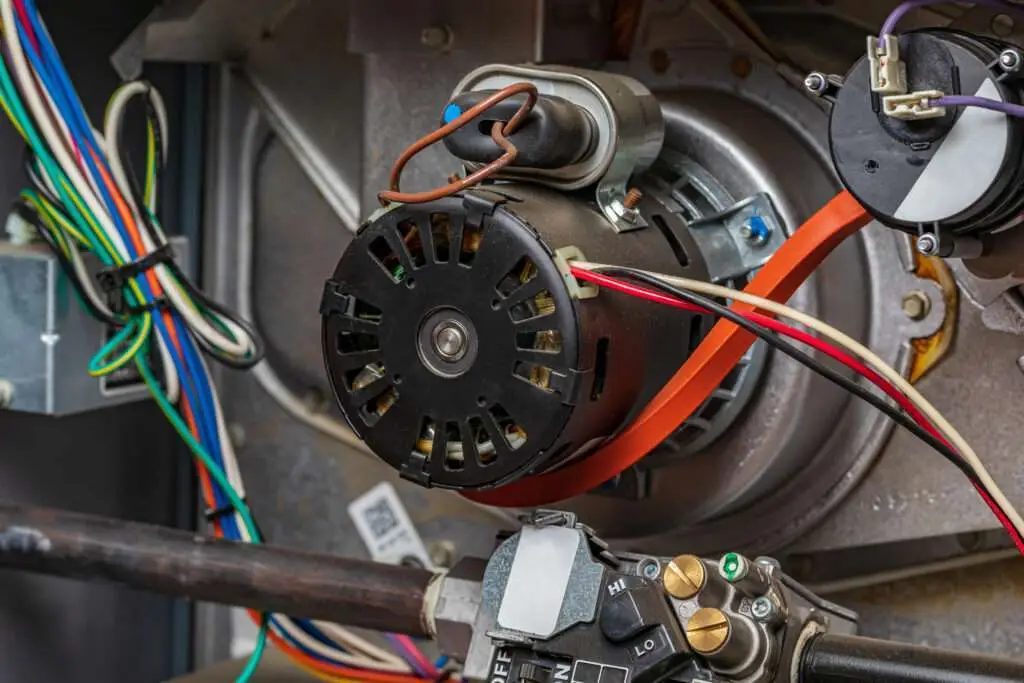
8. Inspect the Drive Belt
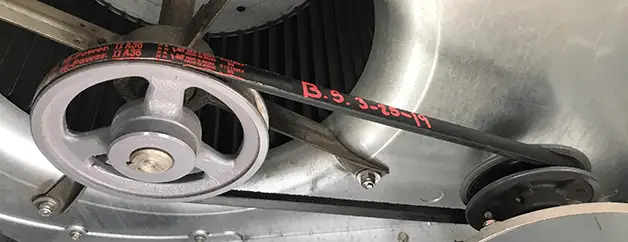
To replace the drive belt on a furnace, you will need to follow these steps:
- Turn off the furnace and locate the drive belt. This is usually located on the side or back of the furnace.
- Remove any covers or panels that are blocking access to the drive belt. This may require the use of a screwdriver or other tools.
- Carefully loosen the tension on the drive belt. This will typically involve loosening bolts or screws that are holding the belt in place.
- Remove the old drive belt from the furnace.
- Place the new drive belt onto the furnace. Make sure that it is properly aligned and seated in all of the grooves.
- Tighten the tension on the drive belt to the manufacturer’s recommended specifications.
- Replace any covers or panels that you removed earlier.
- Turn on the furnace and test the new drive belt to ensure that it is functioning properly.
By following these steps, you can help ensure that your furnace is running efficiently and safely. If you encounter any problems or are unsure about how to perform any of these tasks, it’s always a good idea to consult a professional furnace repair service.
For more furnace maintenance tips to save on costly repairs, check out this video by AMRE Supply.