It is possible to troubleshoot your furnace repair on your own if you have some DIY experience. To avoid this problem, you should have a heating system maintenance checklist. After reading this article, you will feel confident about tackling some furnace repairs.
Please note: Before doing any of these steps yourself, you may want to consult a professional if you feel uncomfortable performing a furnace repair yourself. An uncertain situation or a dangerous event involving the furnace is not worth saving a few dollars.
Here are the 5 most common furnace problems and how to fix them right away.
Problem 1: Turn your Thermostat on
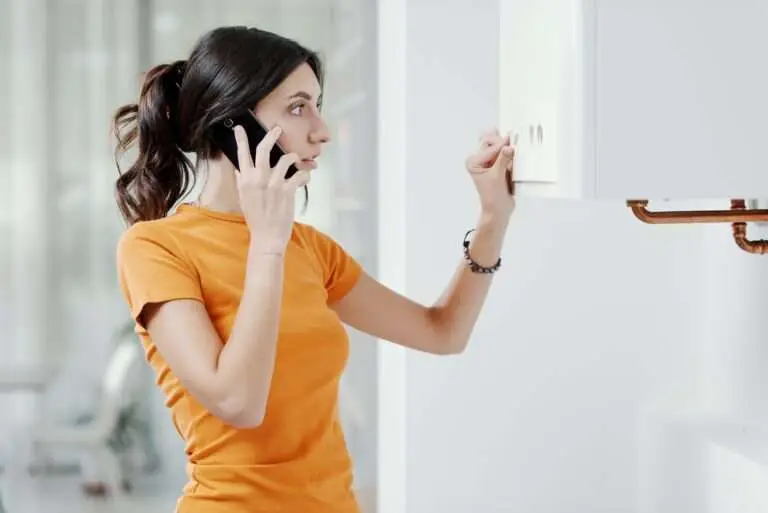
To start off your furnace repair, set your thermostat to at least five degrees above room temperature and on “heat.” Most service calls are made without this check!
How to check your thermostat:
Step 1: Your battery-operated thermostat may need new batteries. A low-battery symbol may flash on those that use batteries. Change your batteries at least once a year.
Step 2: Open the thermostat and blow out any dust or debris.
Step 3: If your system is on a timer, make sure the date and time are correct.
Step 4: Turn off the breaker and check the furnace fuse.
If you have a digital multimeter, check out this article to learn how to test a circuit breaker with a digital multimeter.
Problem 2: Furnace won’t produce heat – Reset the circuit breaker
For this furnace repair issue, try moving the thermostat dial up or down a few degrees to see if there is a noticeable difference. If nothing changes, read on to learn how to check the circuit breaker.
How to check your furnace circuit breaker:
Step 1. Ensure your circuit breaker is on the “off position”.
Step 2. Switch between on and off a few times to reset it.
Step 3. After a few resets, leave it on.
If this does not fix the issue, you might have a problem with the circuit inside the breaker itself.
Problem 3: Insufficient Heat from Furnace – Replace your filter
Clogged air filters force your air handler to work harder due to blocked airflow, driving up your utility bill. Regularly replacing your furnace filter prevents you from needing a furnace repair and improves your indoor air quality.
How to check and replace your furnace filter:
- Step 1: Locate your furnace filter, usually found inside the furnace itself. View what a furnace filter looks like here
- Step 2: Use a flashlight to check if you see any dust in yourfilter. If you smell dusty air coming from your vents when the blower turns on, that’s another sign to change your filter.
- Step 3: If you need to replace your filter, turn off your furnace. Ensure that you do not install your filter upside-down by checking the direction it points.
Problem 4: Ensure working Safety Switch on Furnace Door
There is a safety switch on furnaces that pops out when the door is removed. Shutting the door starts the the furnace and activates the switch. Check out “How to Install a Furnace Door Safety Switch” if you need to install a new safety switch.
How to install a new furnace safety switch:
1: Turn off the power
2: Prepare the blower door
Step 3: Wire the safety switch
Step 4: Check and test the installation
Problem 5: Check out the flames on the burner
Most burner failures are caused by contamination.
How to check and clean your furnace burner:
1: Check if the flames are blue and even (clean) or yellow (dirty).
2: If the flames are yellow, clean with a vacuum, but ensure the power and gas are turned off.
Tip: Clean the furnace burners annually once before Winter as dust usually builds up during the Summer.


